Quick Links
In Helldivers 2, facing the Illuminate can be a daunting task. These enemies boast advanced technology and a strategic approach that can overwhelm players with precision and sheer numbers. As you focus on their light infantry, their elite units, both ground and air-based, will close in, making it crucial to select the right loadouts and builds that exploit the Illuminate's weaknesses while providing robust defense against their tech.
To effectively combat the Illuminate, you need a strategic blend of weapons, support gear, and stratagems tailored to handle both their numerous light units and their formidable armored/heavy units. Neglecting either can render your loadout ineffective against the full might of the Illuminate.
This guide will explore the best loadouts and strategies specifically designed to enhance your combat effectiveness against the Illuminate. Whether you're a seasoned veteran or a newcomer, these strategies will help you tackle this challenging, squid-like faction head-on. Let’s dive in and prepare to face the Illuminate with confidence.
The Laser Cannon Loadout: Melting the Illuminate

PLAS-1 Scorcher / PLAS-101 Purifier
GP-31 Grenade Pistol
G-13 Incendiary Impact
Siege-Ready
- LAS-98 Laser Cannon (Support)
- AX/AR-23 "Guard Dog"
- Eagle Strafing Run
- A/MG-43 Machine Gun Sentry / Orbital Laser
The 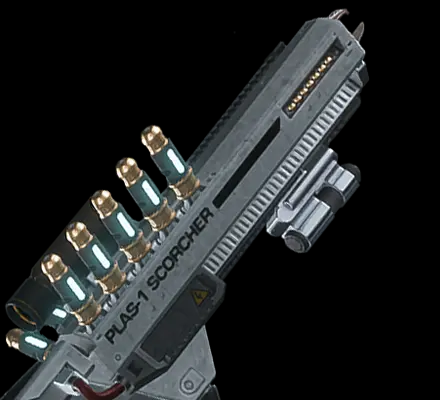 PLAS-1 Scorcher and
 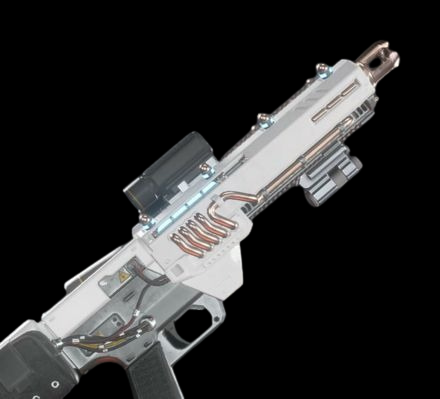 PLAS-101 Purifier are top-tier primary weapons in Helldivers 2, capable of melting through Overseers, including jet-pack-equipped Elevated units, and the Voteless with ease. The Siege-Ready armor passive enhances their effectiveness by providing extra ammunition and quicker reloads, allowing you to tackle multiple priority targets efficiently. The increased damage per shot is crucial when every hit counts.
The  Eagle Strafing Run and
 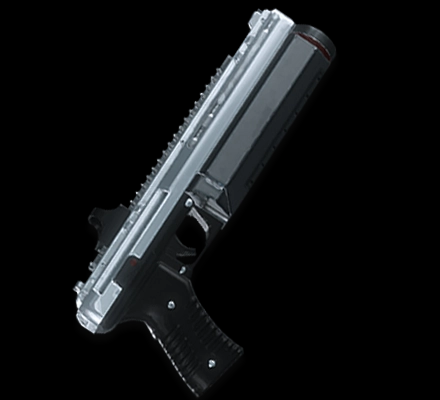 GP-31 Grenade Pistol form a potent combination for annihilating grounded warp ships. While energy weapons struggle against their shields, a single Strafing Run can strip the shields off multiple ships in a line, allowing you to finish them off with a well-placed grenade into their open bay doors. This strategy is particularly effective against medium to heavy Illuminate nests where multiple warp ships need to be destroyed. The
 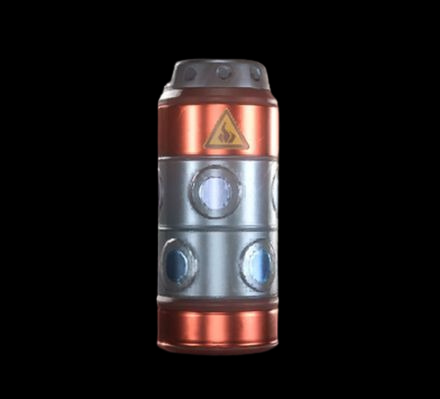 G-13 Incendiary Impact grenades are ideal for clearing out swarms of light enemies, so reserve them for those situations when using the Grenade Pistol.
The  AX/AR-23 "Guard Dog" is exceptionally effective against medium-armored Overseers, capable of taking them down with a single burst, making it a vital stratagem for protecting your flanks.
The  A/MG-43 Machine Gun Sentry is perfect for securing areas during objective defense. If thinning enemy crowds isn't your priority, consider switching to an
  Orbital Laser to target Harvesters or future heavy units.
Finally, the  LAS-98 Laser Cannon rounds out this loadout, melting through Overseers and chaff in seconds and proving highly effective against Harvesters. After using a Strafing Run to deplete their shields, target the Harvesters' weak spots (thighs/eyes) with the Laser Cannon. A single clip can suffice with steady aim. Its long range makes it an ideal weapon for engaging enemies from a distance, truly an anti-squid powerhouse.
For the highest difficulty levels where multiple Harvesters are common, an Orbital Laser becomes essential.
The Lightning Loadout: Shocking (& Staggering) the Illuminate

ARC-12 Blitzer
GP-31 Grenade Pistol
G-13 Incendiary Impact
Electrical Conduit / Med-Kit
- ARC-3 Arc Thrower (Support)
- Orbital Railcannon Strike / Orbital Laser
- Eagle Strafing Run
- A/ARC-3 Tesla Tower
The 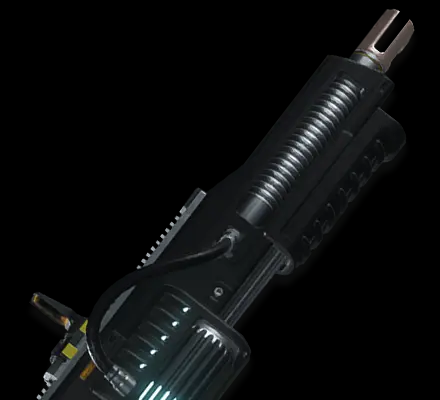 ARC-12 Blitzer and
  ARC-3 Arc Thrower are perfect for dealing with the Illuminate's mix of melee and ranged units. Both excel at eliminating light enemies, but the Arc Thrower's ability to chain lightning and stagger Overseers is invaluable. Continuous attacks can keep Elevated Overseers stunned in mid-air, rendering them ineffective.
The Arc Thrower can also take down unshielded Harvesters, requiring about a dozen hits, each inflicting a moderate stun that accumulates over time.
The  A/ARC-3 Tesla Tower is highly effective against all Illuminate types, particularly groups of flying Overseers. It provides consistent crowd control and disrupts enemy formations, making it easier to manage large waves. Combined with the Arc Thrower, you can lock down an area with multiple chained lightning attacks, ensuring priority enemies do not reach your Tesla Tower.
Harvesters prioritize sentries, so avoid deploying your Tesla Tower or other sentry stratagems once engaged.
The Eagle Strafing Run and Grenade Pistol remain essential for dealing with grounded warp ships, as the Blitzer and Arc Thrower are less effective against their shields in combat. Do not swap these stratagems unless another teammate can handle this task.
For heavy units, the  Orbital Railcannon Strike is ideal due to its unlimited uses. The Orbital Laser can handle multiple Harvesters, but its limited uses mean you'll need to coordinate with your team. Always use a Strafing Run to strip their shields first. This build is one of the most potent against the Illuminate in Helldivers 2, especially when used in coordination with other players.
The Machine Gun Loadout: Shredding the Illuminate

StA-52 Assault Rifle
GP-31 Grenade Pistol / CQC-19 Stun Lance
G-13 Incendiary Impact
Peak Physique / Engineering Kit
- MG-43 Machine Gun (Support)
- LIFT-850 Jump Pack
- Orbital Railcannon Strike / Orbital Laser
- A/MG-43 Machine Gun Sentry / A/G-16 Gatling Sentry
The  MG-43 Machine Gun is the ultimate versatile weapon against the Illuminate, making this one of the most effective loadouts in Helldivers 2. It efficiently shreds light and medium enemies, as well as Harvesters. Compared to the MG-206 Heavy Machine Gun, the standard version offers better handling and faster infantry dispatch.
This weapon is a true all-rounder against the squids, balancing power and reliability. Pair it with the Engineering Kit to reduce recoil or the Peak Physique armor passive to minimize drag, the latter aiding in targeting flying Overseers or Watchers. Its high fire rate is also effective at depleting shields, eliminating the need for an Eagle Strafing Run to destroy grounded warp ships. Instead, opt for turret sentries like the A/MG-43 Machine Gun Sentry or A/G-16 Gatling Sentry to handle large crowds or defend objectives.
The Machine Gun's only drawback is its stationary reload, which can be mitigated by using the  LIFT-850 Jump Pack to quickly reposition to safety. It also enhances navigation on the new urban maps.
While the Machine Gun excels against Harvesters when targeting their weak spots, having an Orbital stratagem like the Orbital Laser or Railcannon Strike is crucial for dealing with multiple heavy units. The Orbital Laser can handle two to three shielded Harvesters simultaneously, whereas the Railcannon Strike is best used against unshielded targets.
For the primary weapon in this build, you can choose any from the Armory. To maintain the theme of sustained firepower, consider the StA-52 Assault Rifle from the Helldivers 2 x Killzone 2 crossover. It features a large drum magazine and delivers sustained fire that penetrates light armor, matching the damage output of the standard Liberator.


